Unigraphics NX6 Excellent Extrude Function
Unigraphics provides features that are very easy to extrude, of line, edge, face, until it becomes a complex shape objects, this simplicity gives users greater freedom in design.
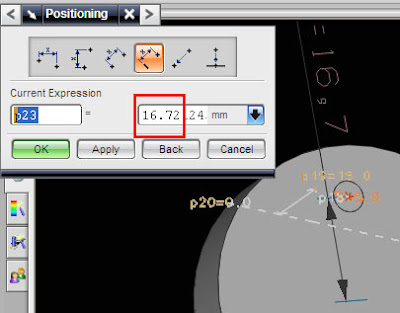
Easy Way to Custom Positioning
for those of you who are just learning Unigraphics, features in Unigraphics is very easy to use to make things, this blog will bring you begin to learn Unigraphics starts from zero.

Full View Featured
Replace these every slider sentences with your featured post descriptions.Go to Blogger edit html and find these sentences.Now replace these with your own descriptions.
Complex Design on Way
UGS also be used to design complex objects, ranging from small parts, tools for manufacturing to complete assembly drawings, not forgetting the ability of drafting a reliable.
Multiphysics Simulation
UGS also reliable to deal with complex finite element simulations, ranging from the strength of materials, fluid flow, until multiphysics like a magnet, besides the movement of the components can also be simulated accurately, it allows engineers to analyze, certainly requires a separate license.


 16:10
16:10


